
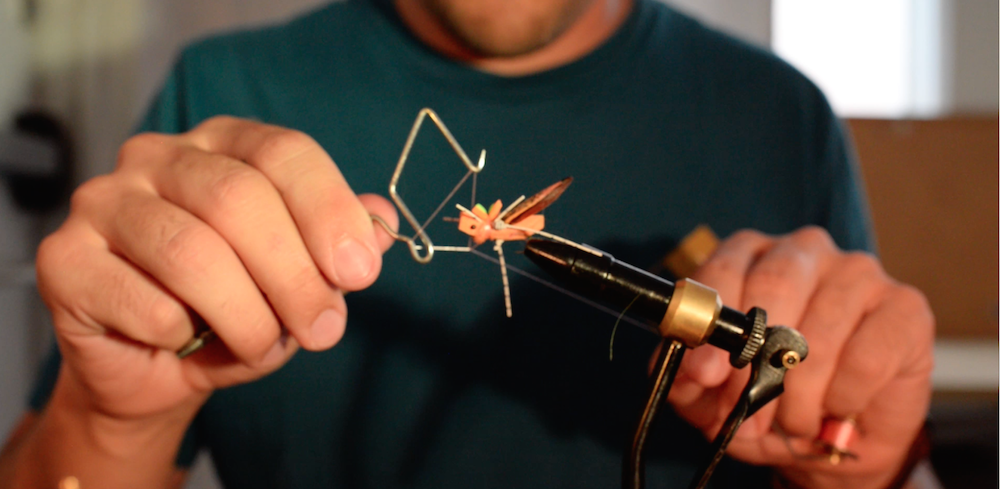
The thought of fly tying may initially seem daunting, but in reality, it doesn’t necessarily need to be as complicated and detailed as the impressive stuff you can see in the pages of Fly Tyer magazine. Tying your own flies can be an especially rewarding experience in itself, but nothing beats the feeling of catching a fish on a fly you tied (or designed) yourself.
For starters

Really, the only tools you need to start are a vice to hold the fly and a bobbin to hold the spool of thread. These two items are part of the standard “kit” you can purchase pretty much anywhere online or in some of the “big box” outdoor stores. Throw in an assortment of thread, feathers, various animal hair, some beads and you are in business.
The thing that overwhelmed me as a beginner was the sheer volume and variety of supplies that can be found at your local fly shop. The unknowing beginner can drop a ton of money on supplies, only to find that they didn’t need what they bought or you actually needed something else.
For the absolute beginner, purchasing a kit for a specific fly (Postfly sells them here!) will be the most cost effective way to get started. These kits come with everything you need to tie specific patterns as well as enough to create something of your own.
The tools
Vises
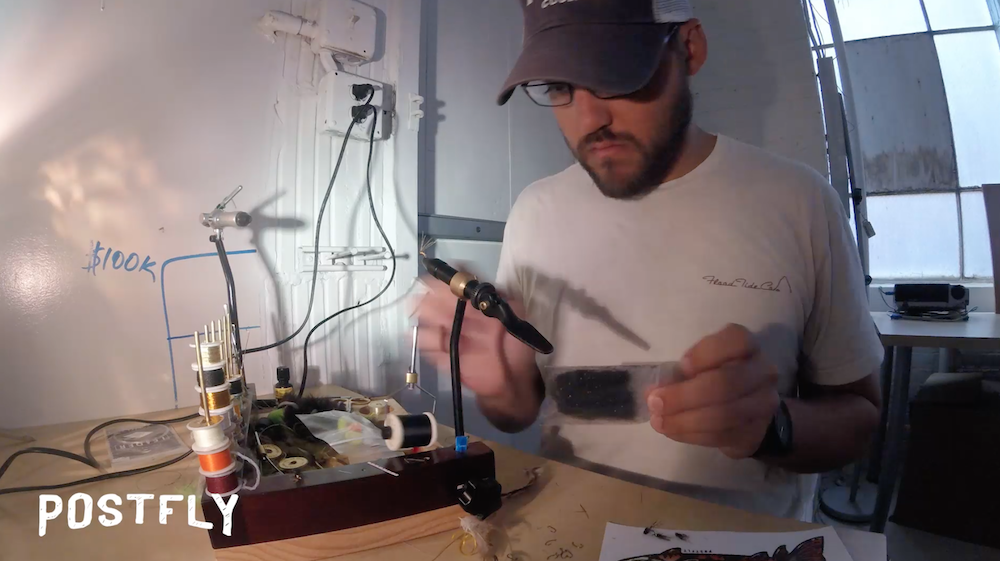
No we aren’t talking about your favorite drink or bad habit, but the tool with which you hold a hook for the purpose of tying flies can be as simple or as complicated as you like. The ones that come in the kit are super basic but get the job done. My personal favorite that I’ve had forever is my trusty Renzetti Traveler. This is a fairly basic rotary vise that’s packable (if you want to tie while you are out and about) and very well made (Made in the good ol’ USA). There are a ton of options out there but this is what I’ve used the most and recommend to friends that want to get into tying.
Other tools
Bobbins
Really, any basic bobbin will do. Some people like to get fancy but I’ve used some cheapo ones and some really nice ones but they all do the same thing – hold the thread. If I had to recommend one in particular it would be the Dr. Slick ceramic model. Bobbins with a ceramic insert are less prone to burrs which cause thread breakage. This model will run you less than $20.
Whip finisher
I tried to go without this thing for a few years because it looked weird and intimidating. Once you get used to it, you will never go back to making half hitches with your fingers. Not sure on the brand of mine, but I bought it at a gas station/grocery store/fly shop a while back and it works every time.
Scissors
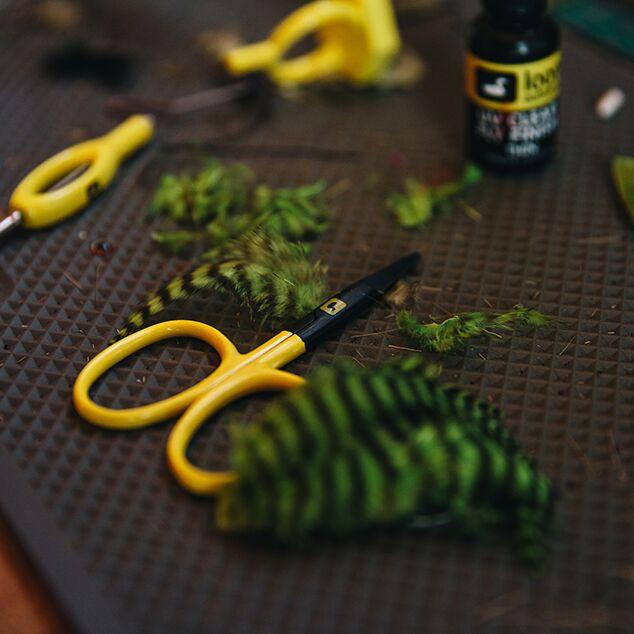
These are actually pretty important and you get what you pay for. I picked up a pair of Dr. Slick scissors ($15-20) with the curved blade close to 15 years ago and they are still sharp and the primary scissors I use. It’s a good idea to pick up an “el cheapo” set too for cutting wire since you don’t want to ruin your nice sharp scissors.
Resources
Before I gave into looking on the internet for everything, I used books and magazines for information (remember those?!)
- First and foremost, Postfly’s YouTube channel has a plethora of instructional videos especially their fly tying kits
- The Orvis Fly Tying guide is super helpful, Tom Rosenbauer is the man when it comes to all things fly fishing education.
- Fly Tyer Magazine is great for learning new and fancy patterns or to just geeking out on flies.
- Your local Trout Unlimited (TU) chapter or fly shop may offer fly tying nights or classes. This is where it all started for me. A local fly shop showed me how to tie a wooly bugger, then the university I went to had a fly fishing club and a monthly tying night. Being able to interact with people (in person) that know more than you is an indispensable resource.
Big River Collective is a tag-team duo, Ryan Michelle Scavo (@RyOutside) and Sam Scavo (@S_Scavo). They are content creators – photographers, writers, & more. – and lovers of Postfly & The Wade blog. They do a lot of playing outside including chasing trout and rambling around southern Colorado looking for the next adventure with their two kiddos and cattle dogs.